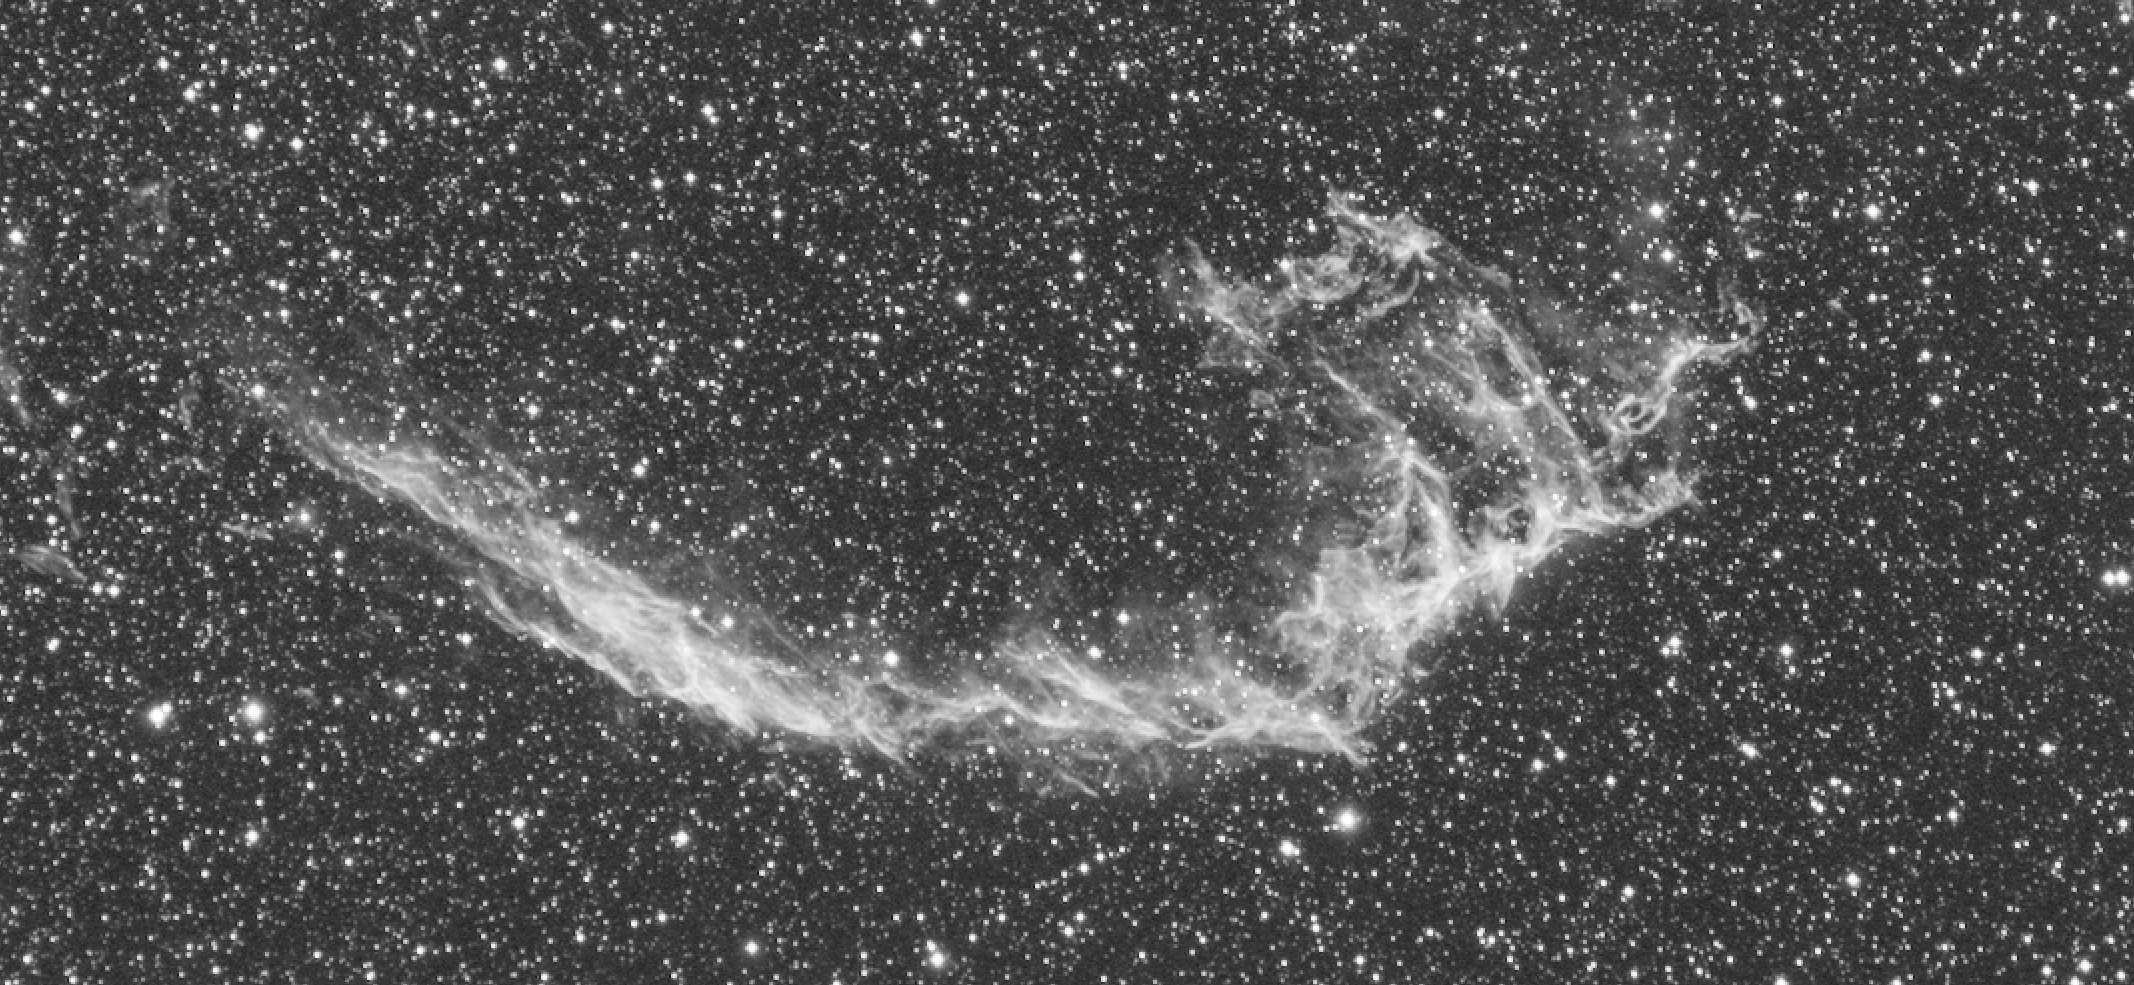
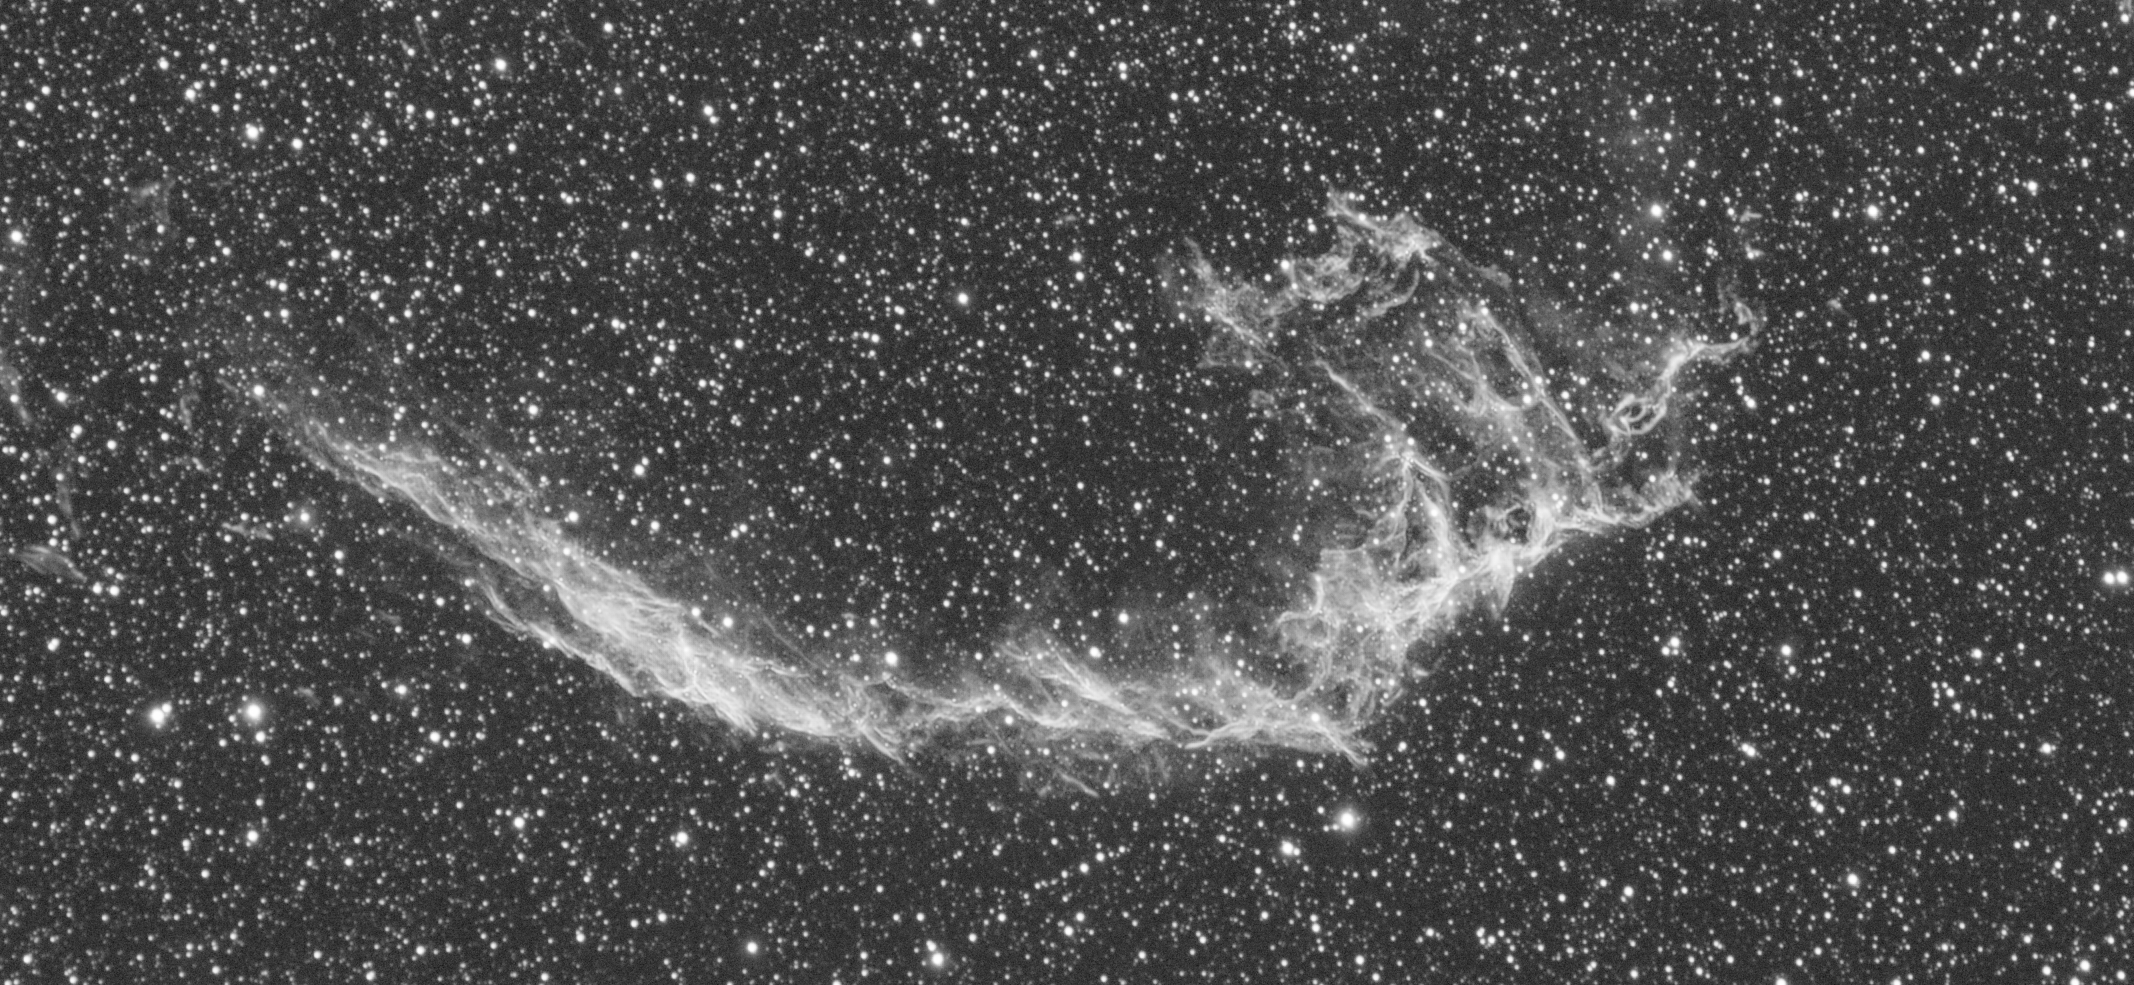
Eastern Veil nebula in OIII
Introduction
Deconvolution can be a bit tricky to achieve because of the ringing artifacts produced by the algorithm on any high-contrast small-scale features. Obviously, stars fall into that category.
The existing solutions to remove those artifacts include the use of either masks or deringing settings. While those two solutions are perfectly valid (and ethically better than the one presented in this article), they become increasingly harder to achieve when you push the amount of iterations. In this tutorial, I’ll show you how to avoid those artifacts by applying deconvolution on a starless image (with StarNet++), and then adding the stars back.
Note: this solution only works if StarNet works well on your data.
Linear to non-linear… and back to linear
As you may know, StarNet only works on non-linear images, which means you need to stretch the image before using the process. This is a problem since deconvolution should be applied on linear images before noise reduction. However, this can easily be solved if you apply StarNet to a stretched image and then manage to “unstretch” it. Here’s how to do it :
Step 1 : Save a copy of your image (I’ll call it “Image_original”). This will be used to add the stars back later.
Step 2 : Stretch your image using HistogramTransformation. Make sure you don’t clip any data and make sure you can retrieve the Shadows, Midtones and Highlights values later. Note that a less/more aggressive stretch might make things easier for StarNet.
Step 3 : Apply StarNet to the image (I’ll call it “Image_starless”).
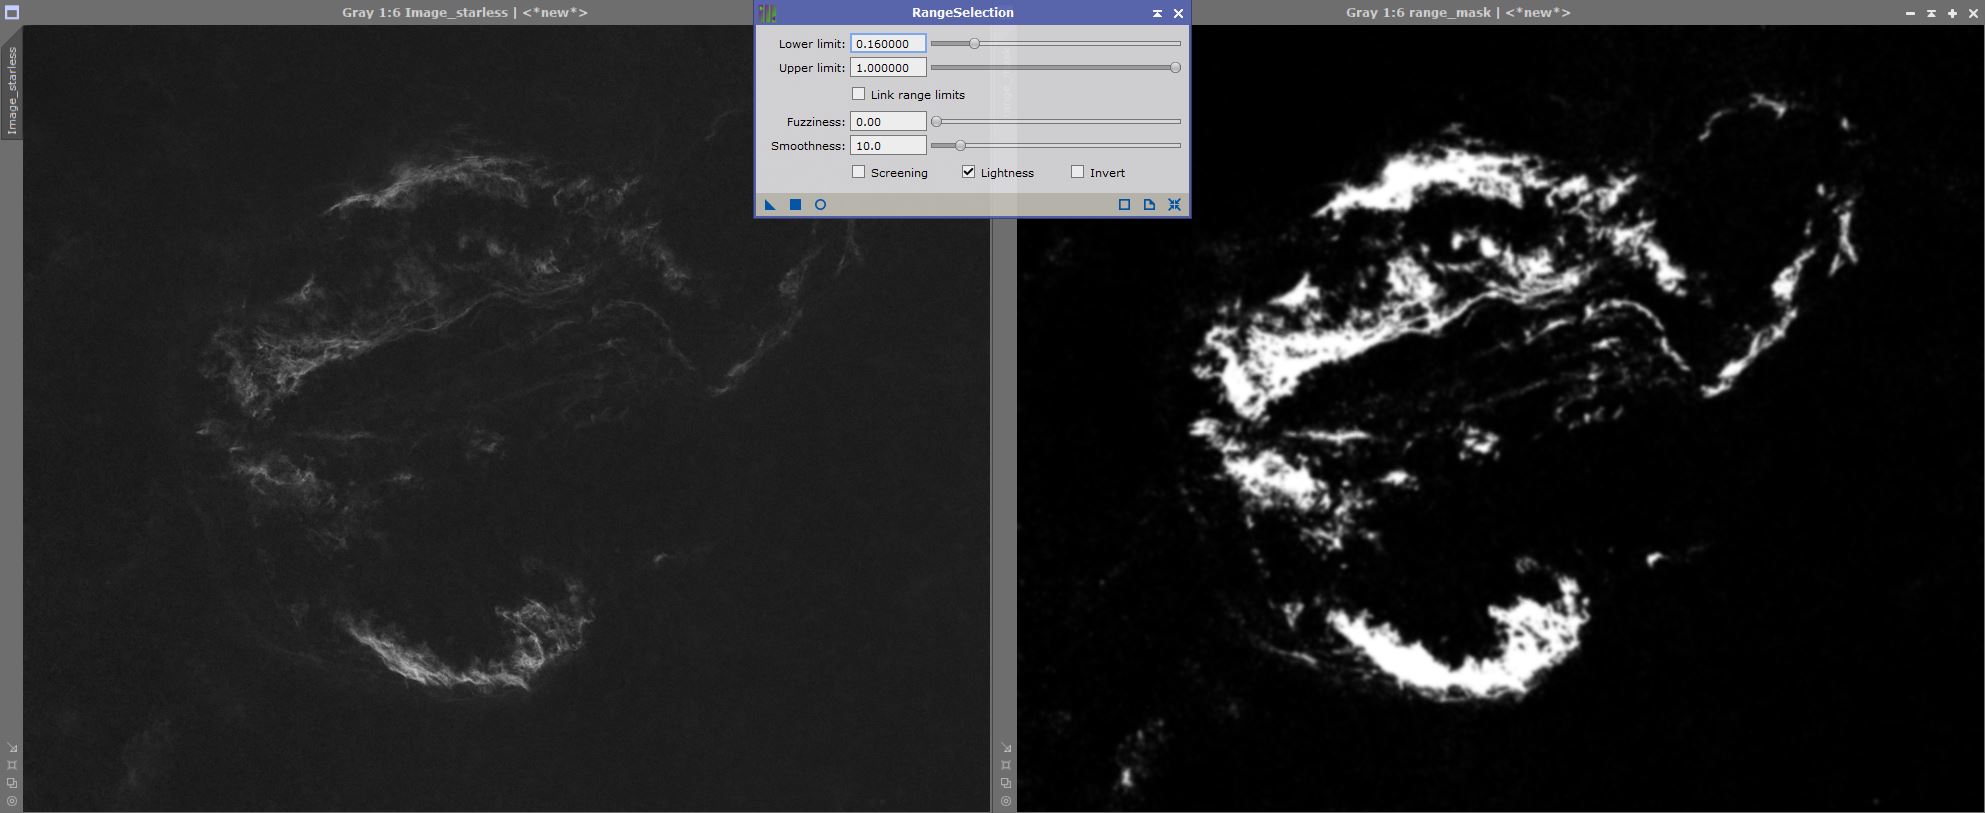
Step 4 : Create a range mask with RangeSelection (will be used to protect the background).
Step 5.1 : You now need to apply the inverse transformation to the starless image. Open HistogramTransformation and change the Midtones value to “1 – [MidtonesValueFromInitialStretch]”. Leave Shadows to 0 and Highlights to 1, and then apply it to the image.
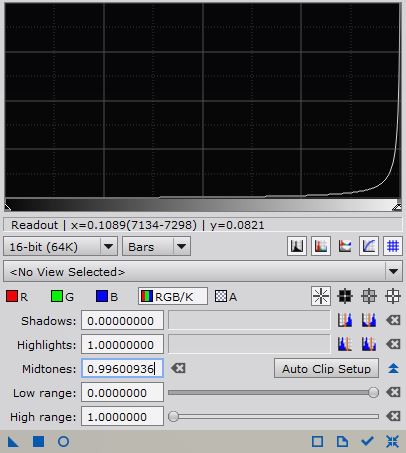
Step 5.2 : To reset the white/black points to their initial values you’ll need to use CurvesTransformation. Copy the Shadows value from your initial stretch to the Output box of the left point. Do the same for the Highlights value and the right point, and apply it to the image. You can navigate between the 2 points by clicking on the arrows.


Step 6 : Create a “StarsOnly” image with PixelMath by using the expression “Image_original – Image_starless”. Check Create new image. This image will be used later to add the stars back.
Step 7 : Run the PSFImage script on “Image_original” to create a PSF profile. If your images suffer from optical aberrations, I recommend running the script on a centered preview.
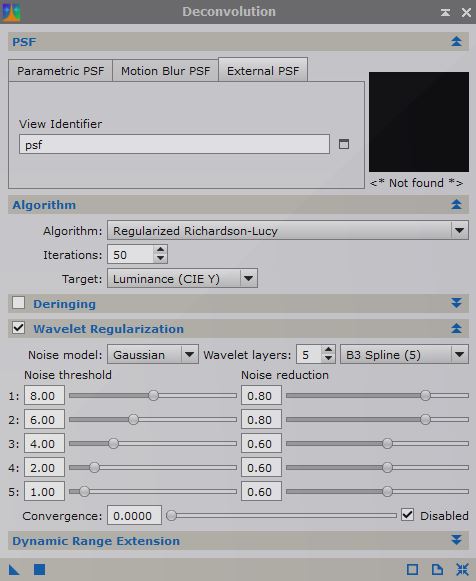
Step 8 : Use the range mask on the starless image and apply Deconvolution. I encourage you to experiment with the amount of iterations and the regularization settings.
Step 9 : Add the stars back with PixelMath by using the expression “$T + StarsOnly” and by dragging the triangle onto the image (check Replace target image).
That’s it ! You should have a ringing-free deconvoluted image by now.
Extra : residual ringing
Of course, StarNet isn’t perfect and most images will need fine-tuning. An easy way to do that is to create a mask of the stars you want to fix, apply it to the deconvoluted image and use the PixelMath expression “Image_original” with Replace target image checked (possibly multiple times). This technique is covered in this video.
On another note, high-contrast regions of nebulosity can also be affected by ringing in some cases. The same technique can be applied.


Here’s how I made the mask.
Step 1 : Make copies of both the original and the deconvoluted images. Stretch those copies (apply STF with HT).
Step 2 : Use the PixelMath expression “[OriginalStretched] – – [DeconStretched]” and check Create new image. This image is the absolute difference between the original image and the deconvoluted image. In other terms, it maps the intensity of the effects of deconvolution across the image.
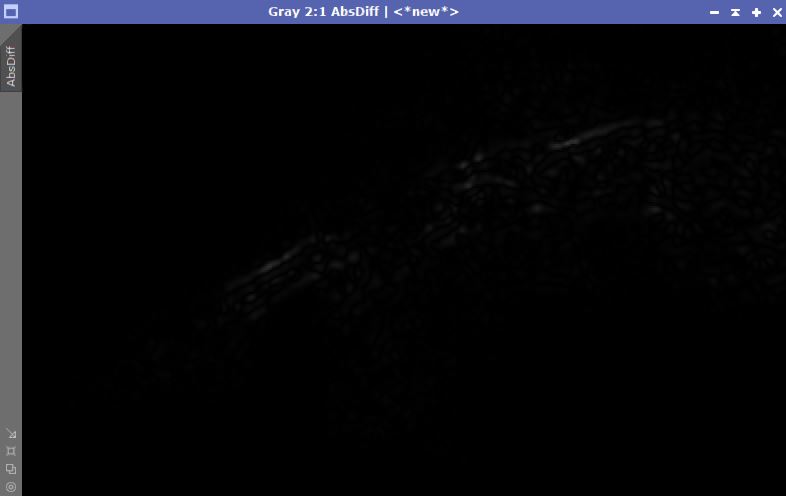
Step 3 : Increase the contrast of this image with CurvesTransformation.
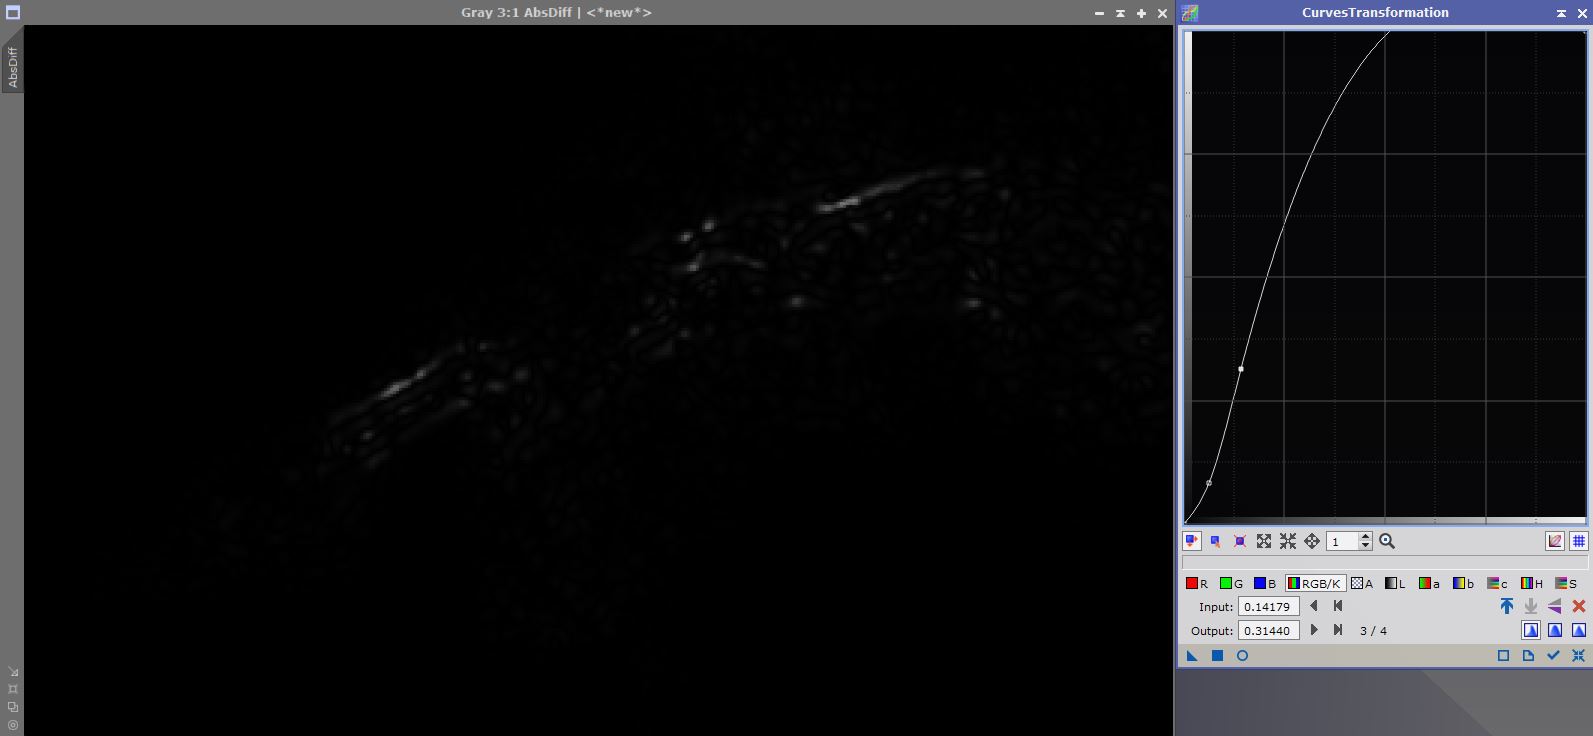
You can now use this image as a mask and follow the technique explained above.
This concludes my tutorial on how to do deconvolution on starless images. Feel free to contact me on Discord (ForaxX#0335) or Instagram (@thecoldestnights) if you have any questions/comments/suggestions regarding this article.
Thank you for your terrific tutorial. I tried this, and was thrilled with the results. The only question that I have is regarding the step of applying the curves transformation on the black/white points. I understand where the value for the black point came from, but where did you get .72911 for the white point? My Highlights value was 1, just like yours shows. I left it at 1 and finished the other steps, but I don’t know if that is correct?
Thanks! This is correct. The Highlights value should actually always be 1 if your image in its linear state already contains blown out pixels (which is often the case when there are bright stars in the FOV): you don’t want to clip the data further!
Is there a reason to do the whole « Image_original – Image_starless » approach rather than just asking StarNet to produce a star mask as part of the result? Isn’t that the same thing without the extra effort (other than checking a box)?
It is the same thing, but the option to create both images didn’t exist when I wrote this tutorial
Makes sense, thanks. It also hit me that I was wrong about the effort because the whole point is to remain linear and that star mask StarNet produces is non-linear and would need to be reversed also.
My bad, very good point!
Thank you very much for this tutorial, it is very helpful!